The short answer
A flat far from the trailhead turns a great ride into a long walk — so on a Sur-Ron or Talaria, it's worth carrying a small repair kit and knowing how to use it. The essentials:
- Tire levers, a patch kit or spare tube, and a pump or CO2 — a compact set that lives in your pack.
- Practice the change once in the garage before you need it on the trail.
- And the real fix for repeat flats: heavy-duty tubes and correct pressure.
What to carry
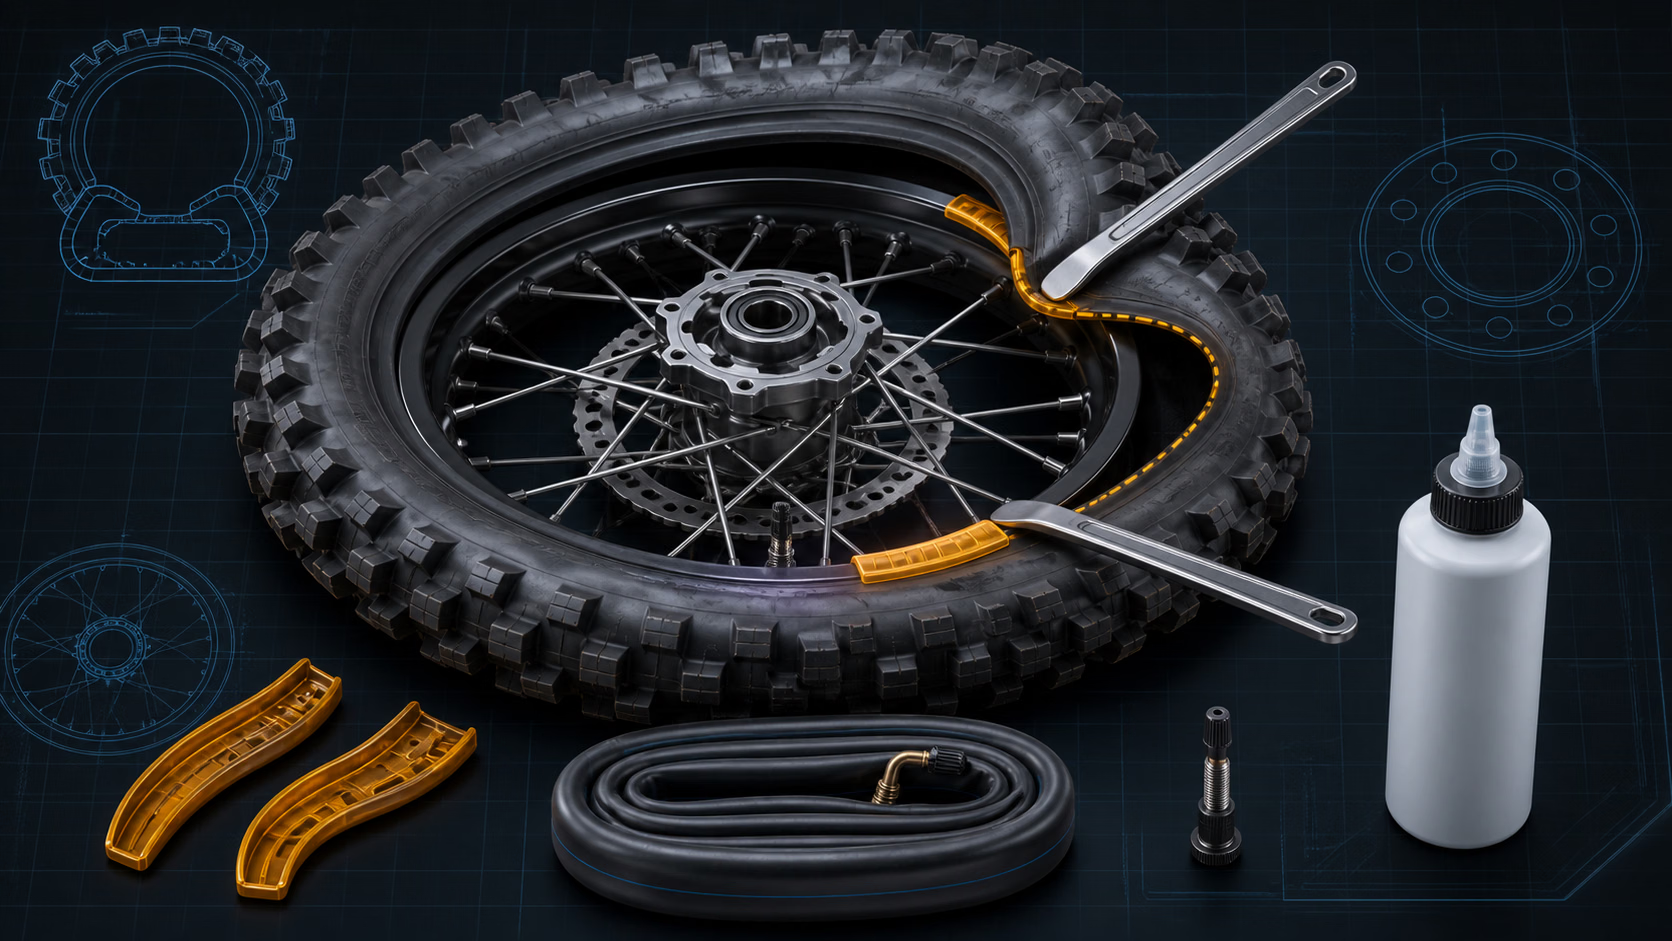
Add tire levers (a couple, plus a bead buddy helps), a pump or CO2 inflator, and a spare tube or a patch kit — the tool kit guide covers the trailside essentials. Sealant is worth carrying for a fast plug of a small leak.
The method
The change is straightforward with practice:
- Get the wheel off the ground and out of the bike (a stand makes this far easier).
- Let the air out and break the bead — press the tire away from the rim edge all the way around, both sides.
- Lever one side of the tire off the rim with two levers, working around a few inches at a time (don't pinch the tube).
- Pull the tube, then find the leak — inflate it and listen/feel, or dunk it in water.
- Patch it (rough the area, glue, patch, press) or install a spare tube — the faster trail option.
- Work the tire back on, keeping the tube unpinched, and air it up until the bead seats evenly.
- Check the pressure and that the bead is seated all the way around before you ride.
Take your time on the levering — a pinched tube on reassembly means doing it all again.
Know your size
The one thing to get right before you buy anything: tube and tire size is model-specific. It has to match your wheel and tire, and it varies across the Sur-Ron, Talaria, and Segway lineups — buying the wrong size is a common, avoidable mistake. Check the size on your current tire's sidewall and match the tube to it; our compatibility guide covers why sizes and fitment are model-specific. When in doubt, pull the old tube and match it.
Stop flats before they start
Fixing flats is a skill; not getting them is better:
- Heavy-duty tubes. Standard tubes pinch-flat under the weight and torque of these bikes — a thicker HD tube is the cheapest big improvement.
- Correct pressure. Too low invites pinch flats; too high kills grip. Set it for your weight and terrain.
- Mousse or tubeless insert for hard riders — eliminates pinch flats entirely, at the cost of a firmer ride and a harder install.
- Sealant in the tube handles slow leaks as a middle ground.
The bottom line
Carry a compact repair kit, practice the change once before you need it, and match every tube to your exact bike's size. Then stop the flats at the source with heavy-duty tubes and correct pressure — the cheapest reliability upgrade for anyone who rides real trail. Keep the rest of the bike dialed with the maintenance guide, and if you're choosing a bike, run the Find Your Ride configurator.
VoltRipper is independent — we don't sell parts and our recommendations aren't pay-to-play. Match tubes and tires to your exact bike's size, seat the bead fully before riding, and follow safe practice with CO2 inflators and tools. Affiliate disclosure is included on monetized pages, and we're spec-verified/data-driven rather than hands-on until first-hand testing exists.
FAQ
How do I fix a flat on a Sur-Ron trail-side?
With a compact kit you carry: tire levers, a patch or spare tube, and a pump or CO2 inflator. The process is to get the wheel off the ground, break the tire bead loose from the rim, lever one side of the tire off, pull the tube, find and patch the leak (or swap in a spare tube), then work the tire back on and air it up. It takes practice, so it's worth doing once in the garage before you need it on the trail. The alternative to carrying a repair kit is a long walk out, so the small kit earns its space in your pack.
What size tube does my dirt bike use?
It's model-specific, so confirm your exact bike before buying — the tube size has to match the wheel and tire size, and it varies across the Sur-Ron, Talaria, and Segway lineups. Buying the wrong size is a common and avoidable mistake; check the size printed on your current tire's sidewall and match the tube to it, and see our compatibility guide for why sizes and fitment are model-specific. When in doubt, pull the old tube and match its size, or take the tire size to the seller rather than guessing.
How do I stop getting flats on my electric dirt bike?
Run heavy-duty tubes, keep your pressure right, and consider a mousse or insert for hard riding. Standard tubes pinch-flat easily under the weight and torque of these bikes, so a thicker heavy-duty tube is the cheapest big improvement. Correct tire pressure matters too — too low invites pinch flats, too high hurts grip. For riders who hate flats entirely, a foam mousse or a tubeless insert eliminates pinch flats altogether at the cost of a firmer ride and a harder install. Sealant in the tube is a middle-ground fix for slow leaks.
Can I use tire sealant instead of changing the tube?
For a small puncture or a slow leak, yes — sealant is a legitimate quick fix, but it has limits. Poured or injected into the tube, sealant can plug a small hole and get you home, and it's worth carrying as a fast trail fix. It won't fix a large tear, a pinch flat with two holes, or a failed valve, though, and it's a temporary measure rather than a proper repair. Carry sealant and a plug/patch kit for the trail, and do a proper tube change or replacement back in the garage when you have the time and tools.